A furnace limit switch replacement is a specific fix that can solve one of your heating system's most frustrating problems. If your furnace keeps turning on and off for no reason or the blower fan just won’t quit, a bad limit switch is a very likely culprit. The good news? This is often a job you can handle yourself if you're comfortable with basic tools and safety steps.
Diagnosing a Failing Furnace Limit Switch

Before you start ordering parts, you need to be sure the limit switch is actually the problem. It’s easy to misdiagnose this one, and you could waste time and money only to end up right back where you started—cold and frustrated. A failing limit switch has some classic symptoms, but they can sometimes look like other furnace issues, so let's break down what to watch for.
The most common sign is a furnace that seems to have a mind of its own. This is a behavior we call short-cycling. You hear the furnace kick on, the burners ignite, and just when you think you’re about to get some heat, the whole thing shuts down. A few minutes later, it tries again, and the cycle repeats.
This happens because a faulty switch is sending a false "overheat" signal, tricking the furnace into a safety shutdown when there’s no real danger.
Blower Fan Behavior
Another huge clue is how the blower fan is acting. Have you noticed the fan running nonstop, long after the heat should have turned off? That can happen when a limit switch gets stuck open. The furnace’s control board thinks there's a constant high-temperature emergency and keeps the blower going to try and cool things down—even if the furnace is already cold.
On the other hand, a blower that won't turn on at all is also a big red flag. The limit switch is supposed to tell the blower when the heat exchanger is hot enough to start circulating warm air. If that signal never gets sent, the burners will shut off on their own to prevent a real overheating situation.
Key Takeaway: The limit switch is your furnace’s number-one safety device for preventing overheating. When it goes bad, it can either shut the system down when it doesn't need to or, worse, fail to shut it down when it should. Fixing it isn't just about being comfortable; it's about keeping your home safe.
Pinpointing the Problem with Certainty
While these symptoms strongly point to the limit switch, they can also be caused by other things. A severely clogged filter or blocked vents can cause your furnace to actually overheat, tripping a perfectly good limit switch. It's doing its job in that case.
Before you blame the switch, you have to rule out airflow problems first.
- Inspect Your Air Filter: A filter clogged with dust is the single most common cause of a furnace overheating. If it's dirty, change it.
- Check Your Vents: Walk around the house and make sure all your supply and return air vents are open and not blocked by furniture, rugs, or anything else.
- Listen for Unusual Noises: Hear any rattling or grinding? That might point to a problem with the blower motor, not the switch.
If you’ve checked for these common issues and the weird behavior continues, the limit switch becomes your prime suspect. To be absolutely sure, you can test continuity with a multimeter, which confirms whether the switch is electrically functional.
For a deeper dive into why your furnace acts this way, our guide on a https://4neighborhood.com/furnace-overheating-and-shutting-down/ is a great resource. A bad switch often perfectly mimics the symptoms of an airflow problem, which is why a careful diagnosis is so important.
Gathering the Right Tools and Replacement Part
Okay, so you're pretty sure the limit switch is the culprit. Before you even think about taking the front panel off your furnace, let's talk about prep work. Diving into a repair without the right gear is a surefire way to turn a 30-minute job into an all-afternoon headache with multiple trips to the hardware store.
Think of it like any project—you need your ingredients laid out before you start cooking. Here, your "ingredients" are a handful of basic tools and the exact replacement switch. Getting this right isn't just about making the job easier; it's about doing it safely and correctly the first time.
Your Toolkit for a Safe Limit Switch Replacement
Good news—you probably have most of what you need already. There’s no need for fancy, expensive HVAC equipment for this particular task. The goal is to safely get inside the furnace cabinet, remove a small component held in by a couple of screws, and put the new one in its place.
Here’s a quick checklist of the essentials.
| Tool or Item | What It's For | Pro Tip |
|---|---|---|
| Nut Driver or Socket Set | Removing the furnace access panels and the screws securing the limit switch. A 1/4-inch or 5/16-inch driver is what you'll typically need. | An adjustable wrench can work in a pinch, but a nut driver gives you better grip and control in tight spaces. |
| Needle-Nose Pliers | Carefully disconnecting the small spade connectors from the old switch. | Gently wiggle the connectors off with the pliers. Never pull on the wires themselves, or you could create a whole new electrical problem. |
| Work Gloves | Protecting your hands from the surprisingly sharp sheet metal edges inside the furnace cabinet. | Simple leather or cut-resistant gloves are perfect. This is an easy way to avoid a nasty cut. |
| Flashlight or Headlamp | Illuminating the dark corners of the furnace interior. | A headlamp is your best friend here. It keeps both of your hands free to work. |
| Non-Contact Voltage Tester | Confirming that all electrical power to the furnace is OFF before you touch anything. | This is your most important tool. No exceptions. |
That last one is non-negotiable.
A non-contact voltage tester is your safety lifeline. It’s the only way to be 100% certain that the circuits are dead before you put your hands in there. Don’t guess—test.
Finding the Correct Replacement Switch
This is, without a doubt, the most critical step of the entire process. Installing the wrong limit switch is a serious safety risk. If it doesn’t trip at the right temperature, it completely defeats its purpose as a safety device, which could lead to a dangerously overheated furnace. You need an exact match or a manufacturer-approved replacement.
First, take a close look at the old switch itself. The part number is usually stamped or printed right on the body. It will look something like "L190-30F". These numbers aren't random; they tell you the temperature ratings. "L190" means the switch opens (cuts power to the burners) at 190°F. The "-30F" typically indicates a 30-degree differential, meaning it will close again (allowing the burners to fire up) once the temperature drops by 30 degrees.
What if the numbers are worn off or unreadable? Don't even think about guessing. Your next move is to find the furnace's data plate, which is a sticker or metal plate usually located on an inside wall of the cabinet. Find the furnace's model and serial number. With that info, you can call a local HVAC parts supplier or search online to find the official OEM part number for your unit.
You’ll likely see both OEM (Original Equipment Manufacturer) and cheaper aftermarket options. While it's tempting to save a few bucks, the limit switch is a key safety component. Sticking with the OEM part is a smart move, as it guarantees the correct temperature ratings and a perfect fit. And while you’re getting familiar with your furnace’s insides, you might want to learn about other parts, like locating the flame sensor on a furnace.
Your Guide to Replacing the Furnace Limit Switch
Alright, you’ve got your new limit switch and your tools are ready to go. This is where the real work begins, and we’ll walk through it step-by-step with safety as our top priority.
Remember, the very first thing you do is also the most important.
Before you even think about touching a screw, you have to cut all power to the furnace. This isn't a friendly suggestion—it's an absolute must. Head over to your home's main electrical panel and flip the breaker labeled "Furnace" or "HVAC" to the "OFF" position.
For an extra layer of safety, find the service switch on or near the furnace itself. It usually looks just like a light switch. Flip that to off, too. Now, grab your non-contact voltage tester and double-check that there is zero power flowing to the unit.
Accessing the Old Limit Switch
Now that the power is off, you can safely open up the furnace. Most have two main access panels on the front, held on by a few screws or clips. You’ll need to take off the upper panel, which covers the burner compartment, to get to the limit switch. Your 1/4-inch or 5/16-inch nut driver will make quick work of the screws.
Set the panel and screws aside somewhere you won't lose them. Once the panel is off, you'll see the guts of your furnace—the gas valve, burners, and a maze of wires. Don't let it intimidate you.
The high limit switch is almost always in the same spot: on the main plenum or bulkhead, right above or next to the burners. It’s a small rectangular or round component with two wires connected to it. The switch's probe sticks into the heat exchanger chamber, where it keeps an eye on the temperature.
This quick diagram breaks down the prep work into three simple phases: tools, safety, and part verification.
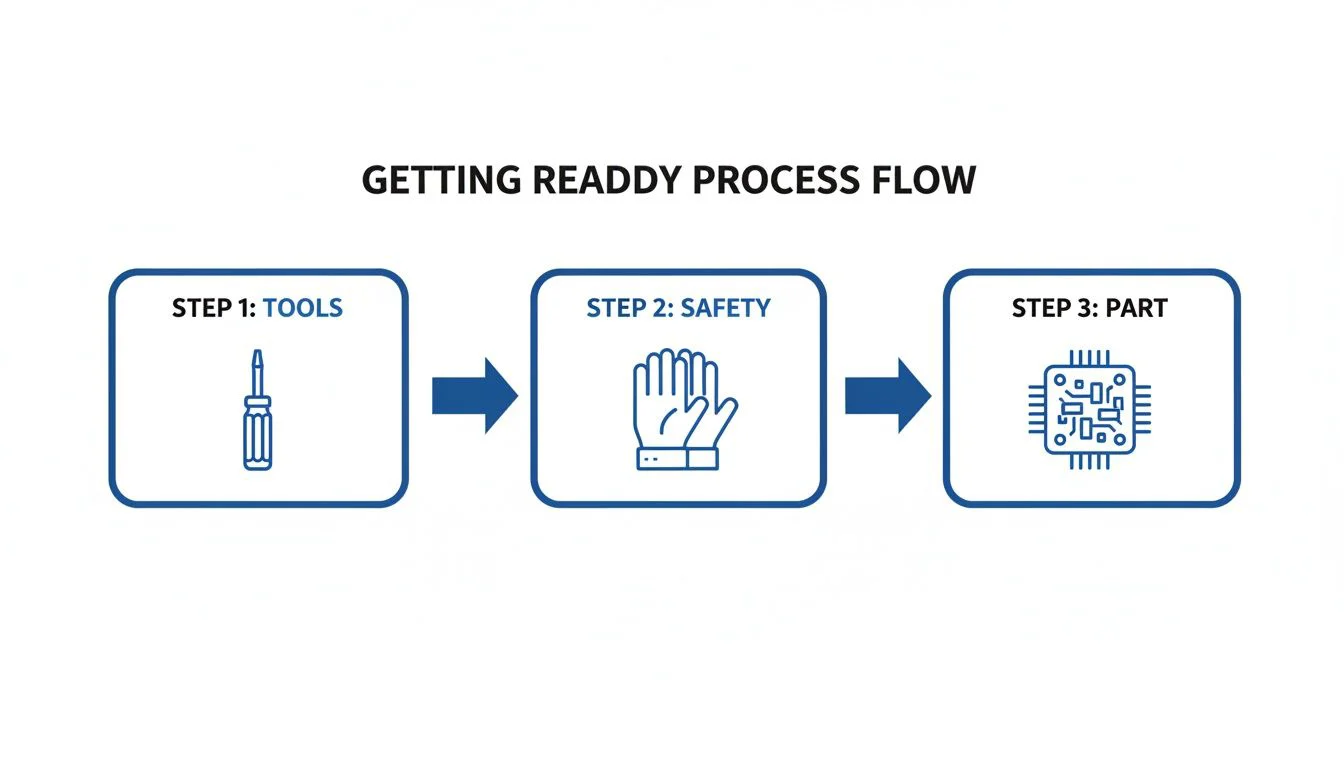
As you can see, gathering your tools, locking down the safety measures, and confirming you have the right part are all things that need to happen before you start unscrewing anything.
Removing the Old Component
Once you’ve spotted the old switch, it’s time for removal. But before you disconnect a single thing, take a quick photo with your phone. Seriously, this simple step is a lifesaver. It gives you a perfect visual map of how the wires were connected, just in case you get sidetracked.
Now, grab your needle-nose pliers. Gently but firmly, grip one of the metal spade connectors on the switch terminals. Give it a little side-to-side wiggle to loosen it, then pull it straight off.
Pro Tip: Never, ever pull on the wires themselves. The connection point between the wire and the spade connector is delicate. If you damage it, you could create a poor electrical connection—leading to the same problem you're trying to fix, or worse, a new and potentially dangerous one.
Do the same for the second wire. With the wires disconnected, use your nut driver to take out the two screws holding the old limit switch onto the furnace frame. The switch should now come right out.
Installing the New Furnace Limit Switch
Putting the new switch in is pretty much the reverse of taking the old one out. Grab your new switch—which you've already double-checked has the exact same temperature ratings—and slide its probe into the opening.
Line up the mounting holes on the new switch with the holes in the furnace frame. Re-insert the two screws you just took out and tighten them down.
- Ensure a Snug Fit: The switch needs to sit firmly against the metal bulkhead. If it’s loose, the probe won’t be able to get an accurate temperature reading from the heat exchanger.
- Don't Over-Tighten: Tighten the screws until they are snug, but that’s it. If you go too far, you can strip the sheet metal or even crack the new switch's mounting plate.
With the new switch mounted securely, you can reconnect the wires. Just look at the photo you took earlier. On most two-wire limit switches, the polarity doesn't matter, so either wire can go on either terminal. Still, it’s always best practice to put them back exactly how they were.
Push the spade connectors firmly onto the terminals of the new switch. You should feel a little click or a solid seating that tells you the connection is good and secure. A loose wire is a classic point of failure.
Final Checks Before Powering On
Before you put the access panels back on, stop and do one last visual inspection. Are both wires connected securely? Is the switch sitting flush against the furnace body? Did you leave any tools, screws, or other debris inside the furnace cabinet?
Once you’re sure everything is where it should be, you can put the burner compartment door back on. Make sure it's seated correctly and all the screws are tight. The furnace door has a safety switch—a small button or lever—that must be pressed in by the panel for the unit to even turn on.
By following these steps and paying close attention to the details—especially the safety checks and wire connections—you can tackle this repair with confidence. Next up, we'll cover the final, crucial step: testing your work to make sure the furnace is running safely and properly.
Testing Your Work to Ensure a Safe Repair
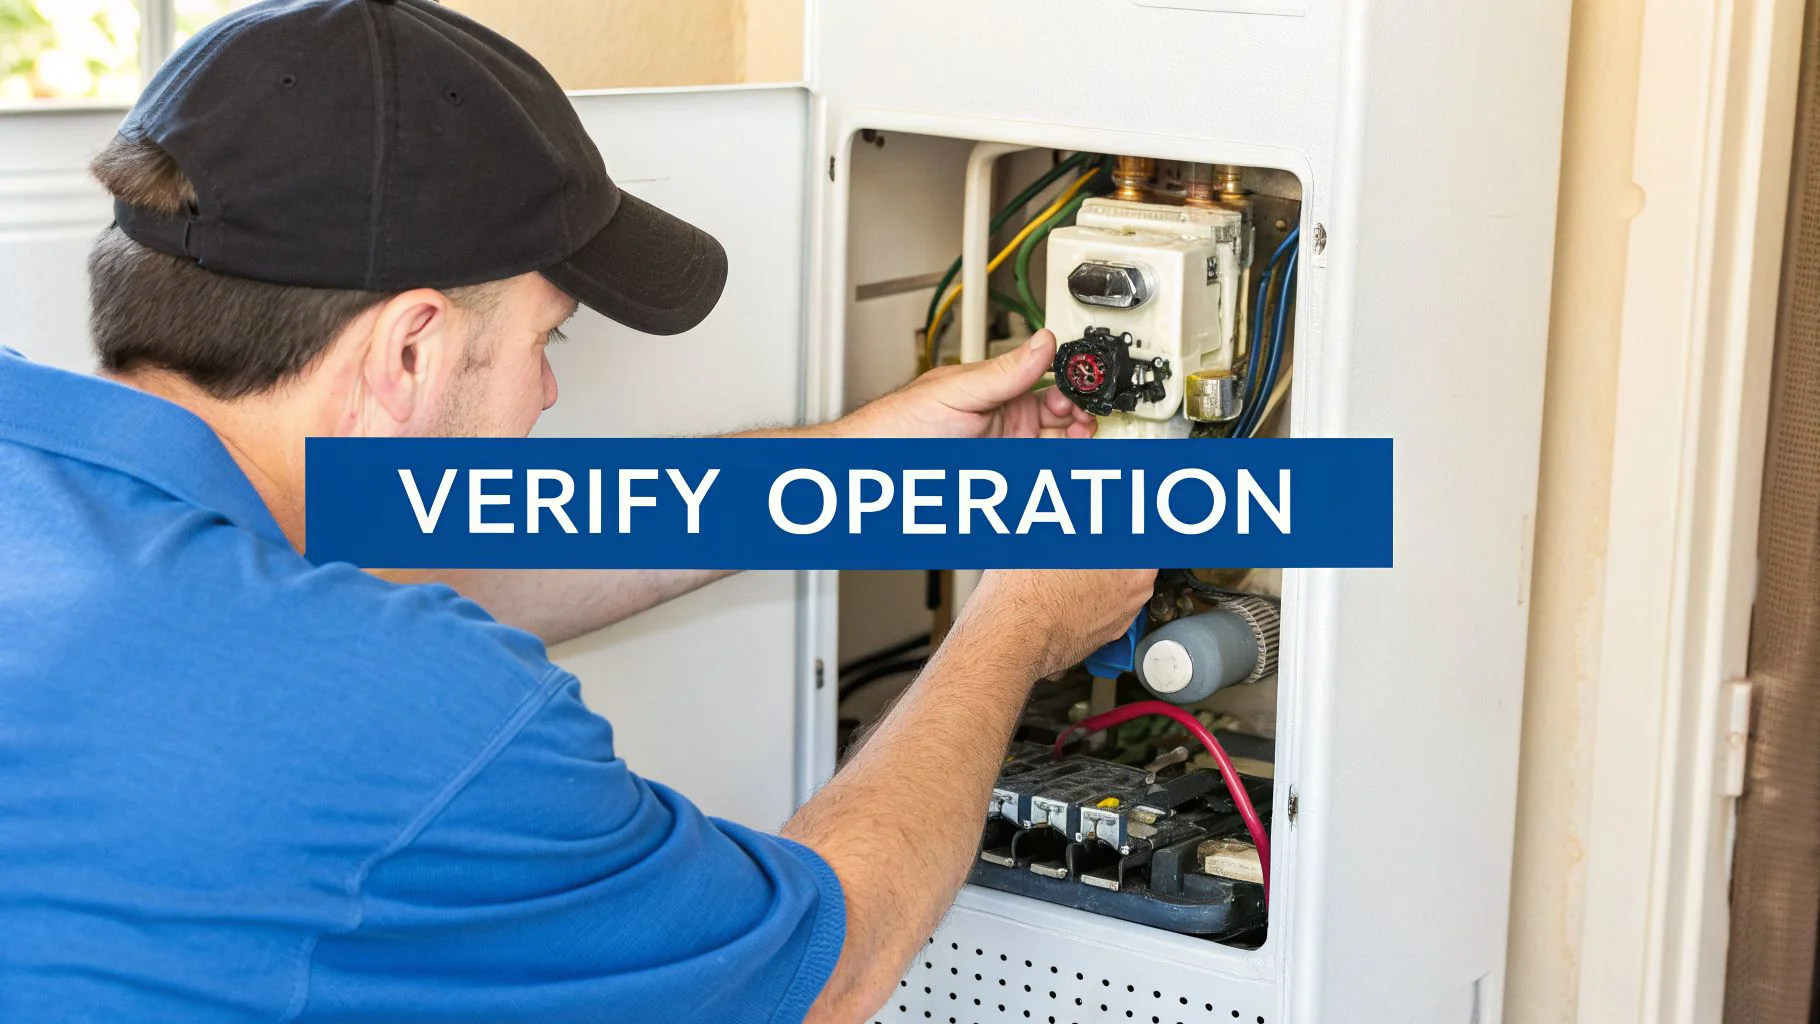
Putting the new part in place feels like crossing the finish line, but the job isn't quite done. This final part of the process—testing your work—is arguably the most important step. It’s where you confirm the repair was a success and, more importantly, that your furnace is safe to operate.
First things first, get those furnace panels put back on securely. Now you can restore power. Head back to your electrical panel and flip the furnace breaker to the "ON" position, then do the same for the service switch located near the furnace itself. Your system is now live.
With the power back on, walk over to your thermostat. Switch the system to "Heat" and bump the temperature up several degrees above the current room temperature. This sends a clear signal to the furnace's control board to kick things off.
Observing a Normal Heating Cycle
This is the moment of truth. You need to watch and listen as your furnace runs through its proper sequence. A healthy heating cycle follows a very predictable pattern, and any deviation could mean something’s still not right.
Here’s what you should expect to see and hear:
- Inducer Motor Starts: Within seconds, you should hear a small fan—the inducer motor—whir to life. Its job is to clear out any leftover gases from the heat exchanger before ignition.
- Ignition Sequence: Soon after, you'll hear a distinct click as the gas valve opens, followed by the "whoosh" of the burners lighting up. You can usually see the steady blue flames through a small viewport on the furnace.
- Blower Fan Activation: The burners will run for about 30 to 90 seconds, heating up the heat exchanger. Once the new limit switch senses the air has reached the right temperature, it signals the main blower fan to turn on and start pushing warm air through your vents.
The biggest test here is to see if the furnace completes a full heating cycle without shutting down early. Let it run until the thermostat is satisfied and the system powers down on its own. If it does, you’ve likely fixed the short-cycling issue.
Your primary goal here is to verify the furnace no longer shuts off unexpectedly. A complete, uninterrupted heating cycle is the first major sign of a successful furnace limit switch replacement.
The Critical Safety Check
Just because the furnace runs doesn't mean the job is finished. You also have to be certain the new switch will do its job and shut the system down if it actually overheats. We can test this by safely and temporarily simulating an overheat condition.
Here's how to do it. While the furnace is running, carefully block about two-thirds of your main return air filter with a sturdy piece of cardboard. This restricts the flow of cool air, causing heat to build up quickly inside the furnace plenum.
Keep a close eye on the burners. Within a few minutes, the new limit switch should detect the rising temperature, hit its safety limit, and trip. When it does, the flames in the burner assembly will go out immediately. The blower fan, however, will keep running to cool down the overheated heat exchanger.
As soon as you see the burners shut off, immediately remove the cardboard from the filter to restore normal airflow. As the furnace cools back down, the limit switch should automatically reset, allowing the burners to re-ignite and finish the heating cycle.
This test is undeniable proof that your new switch is working as a critical safety device. Knowing your furnace is protected against overheating is also a great time to review other home safety measures, and you can learn more about carbon monoxide safety tips for Minnesota homeowners. This simple verification is the final, non-negotiable step to ensuring a safe and reliable repair.
Knowing When to Call a Professional HVAC Technician
While tackling a furnace limit switch replacement yourself can be a really satisfying project, there’s a fine line between a smart fix and a risky gamble. Knowing when to put the tools down and pick up the phone is honestly the most important skill you can have. It’s not about admitting defeat; it’s about making a smart, calculated decision for your home's safety and your own peace of mind.
This guide is here to empower you, but it's just as crucial to recognize your own limits. There are several clear red flags that signal it’s time to stop what you're doing and call in a professional HVAC technician. If you run into any of these, the safest move is to get an expert involved.
Clear Signs You Should Call a Pro
Let's be honest—working with electricity and gas appliances comes with some real risks. A small mistake can easily spiral into a big, expensive problem. If you find yourself in any of these situations, take it as a clear sign to get an expert on the phone.
- You're Uncomfortable with Electrical Work: If the thought of working around live wires—even after you've cut the power—makes you nervous, that’s a perfectly good reason to stop. That's your gut telling you to be careful. A professional has the training and experience to work around these components safely and confidently.
- The Wiring Looks Old or Damaged: You open the service panel and see wires with cracked, brittle, or melted insulation. This is a much bigger issue than a bad switch. It points to a deeper electrical problem that absolutely needs a licensed technician to diagnose and fix correctly.
- The Switch Is Hard to Reach: Sometimes, furnaces just aren't designed with DIY in mind. If the limit switch is buried behind the gas manifold or other complex parts, trying to wrestle it out can cause a lot of collateral damage.
- The Problem Continues After Replacement: You did it—you successfully replaced the switch. But the furnace is still short-cycling, or the blower is still running nonstop. This usually means the faulty switch was just a symptom, not the root cause. A pro can trace the problem back to its source, whether it’s a faulty control board, poor airflow, or even a cracked heat exchanger.
Think of it as risk management. Weigh the modest cost of a professional service call against the potential for causing expensive damage to your furnace or creating a serious safety hazard. If your diagnosis involves complex electrical parts, understanding the comprehensive NFPA 70E electrical safety guidance is critical, and it often reinforces the need for a pro.
Why Calling a Pro Is a Smart Investment
Choosing to hire an expert is a wise investment in safety, efficiency, and certainty. A professional brings diagnostic tools and years of experience that go far beyond a simple part swap. They can verify that the underlying cause of the failure—like poor airflow from clogged ducts—is resolved, ensuring the new switch doesn't just fail prematurely, too.
In North America, which holds over 30% of the global market for limit switches, advanced safety mandates drive high replacement volumes. For U.S. homes, about 22% of all HVAC service calls are related to safety controls like the limit switch. If you're interested in the data, you can read more in the limit switch market report on cognitivemarketresearch.com.
Expert Insight: Here in Central Minnesota, where our brutal seasons push heating systems to their absolute limits, our fourth-generation technicians see this firsthand. We end up replacing these switches in about 12-15% of our boiler and furnace visits. It’s a simple fix that prevents an estimated 80% of potential overheat catastrophes that often plague older units.
Your Trusted Local Expert in Central Minnesota
For homeowners from St. Cloud and Mora down to Blaine and Forest Lake, having a reliable local HVAC partner is essential. Neighborhood Plumbing, HVAC, and Electrical has been that partner for four generations. Our licensed and insured technicians are on call 24/7 because we know furnace problems don’t stick to a 9-to-5 schedule.
When you call Neighborhood, you get more than just a repair. You get:
- Transparent, Up-Front Pricing: You’ll know the full cost of the job before we even start the work. No surprises.
- Expert Diagnosis: We find the real problem, saving you from the headache of repeat service calls.
- Warranties on All Work: We stand behind our repairs, giving you complete peace of mind.
A furnace limit switch replacement can feel straightforward, but when you realize you're out of your depth, the smartest and safest move is to call for backup. It’s the best way to ensure your home stays warm and, most importantly, safe.
A Few Common Questions About Furnace Limit Switches
To wrap things up, let's go over a few of the most common questions we get from homeowners about furnace limit switches. Knowing the answers can help you feel a lot more confident when dealing with your heating system.
What's the Typical Cost for a Furnace Limit Switch Replacement?
This really comes down to whether you handle it yourself or call in a pro. If you're comfortable with the DIY approach, the part itself is pretty cheap. You can usually find a replacement switch for between $20 and $50 at an HVAC supply house or even some hardware stores.
Hiring a licensed technician is a different story. If you have a company like Neighborhood HVAC come out, you’re likely looking at a total cost between $175 and $400. That price tag covers the service call, the time it takes to properly diagnose the problem (to make sure it's really the switch), the part itself, the labor, and a full system test afterward. Most importantly, it comes with a warranty on the work, which gives you real peace of mind.
Can a Bad Limit Switch Stop My Furnace from Turning On at All?
Absolutely. In fact, it's one of the most common ways they fail. If the limit switch gets stuck in the "open" position, it completely breaks the electrical circuit that tells the burners to fire up. Your furnace's control board thinks there's an overheat emergency, even if the furnace is stone cold.
When that happens, the control board will lock out the ignition sequence. You might hear the blower fan turn on and run nonstop as it tries to "cool down" a problem that isn't there, but you'll never get any heat.
A Critical Safety Warning: Never, and I mean never, try to bypass a furnace limit switch, even just for a little while. It's the most important safety device in your furnace, protecting you from dangerous overheating that can crack the heat exchanger and leak deadly carbon monoxide into your home. Replacing the switch is the only safe fix.
How Long Should a Furnace Limit Switch Last, Anyway?
There’s no set expiration date. A limit switch's lifespan is all about your furnace’s overall health. In a furnace that gets regular maintenance, has clean filters, and good airflow, a limit switch can easily last 15-20 years—sometimes the entire life of the furnace.
On the other hand, if your furnace is constantly battling dirty filters or blocked vents, it's going to run hot. This makes the limit switch trip over and over. All that extra work wears out the component much faster, and you could see it fail in as little as 5 to 7 years. Good maintenance is what keeps every part of your furnace running longer.
If you’re running into furnace trouble and aren't comfortable doing the repair yourself, your safest move is to call a professional. For an expert diagnosis and honest service in Central Minnesota, you can trust the fourth-generation team at Neighborhood Plumbing, HVAC, and Electrical. Schedule your furnace repair with us today!